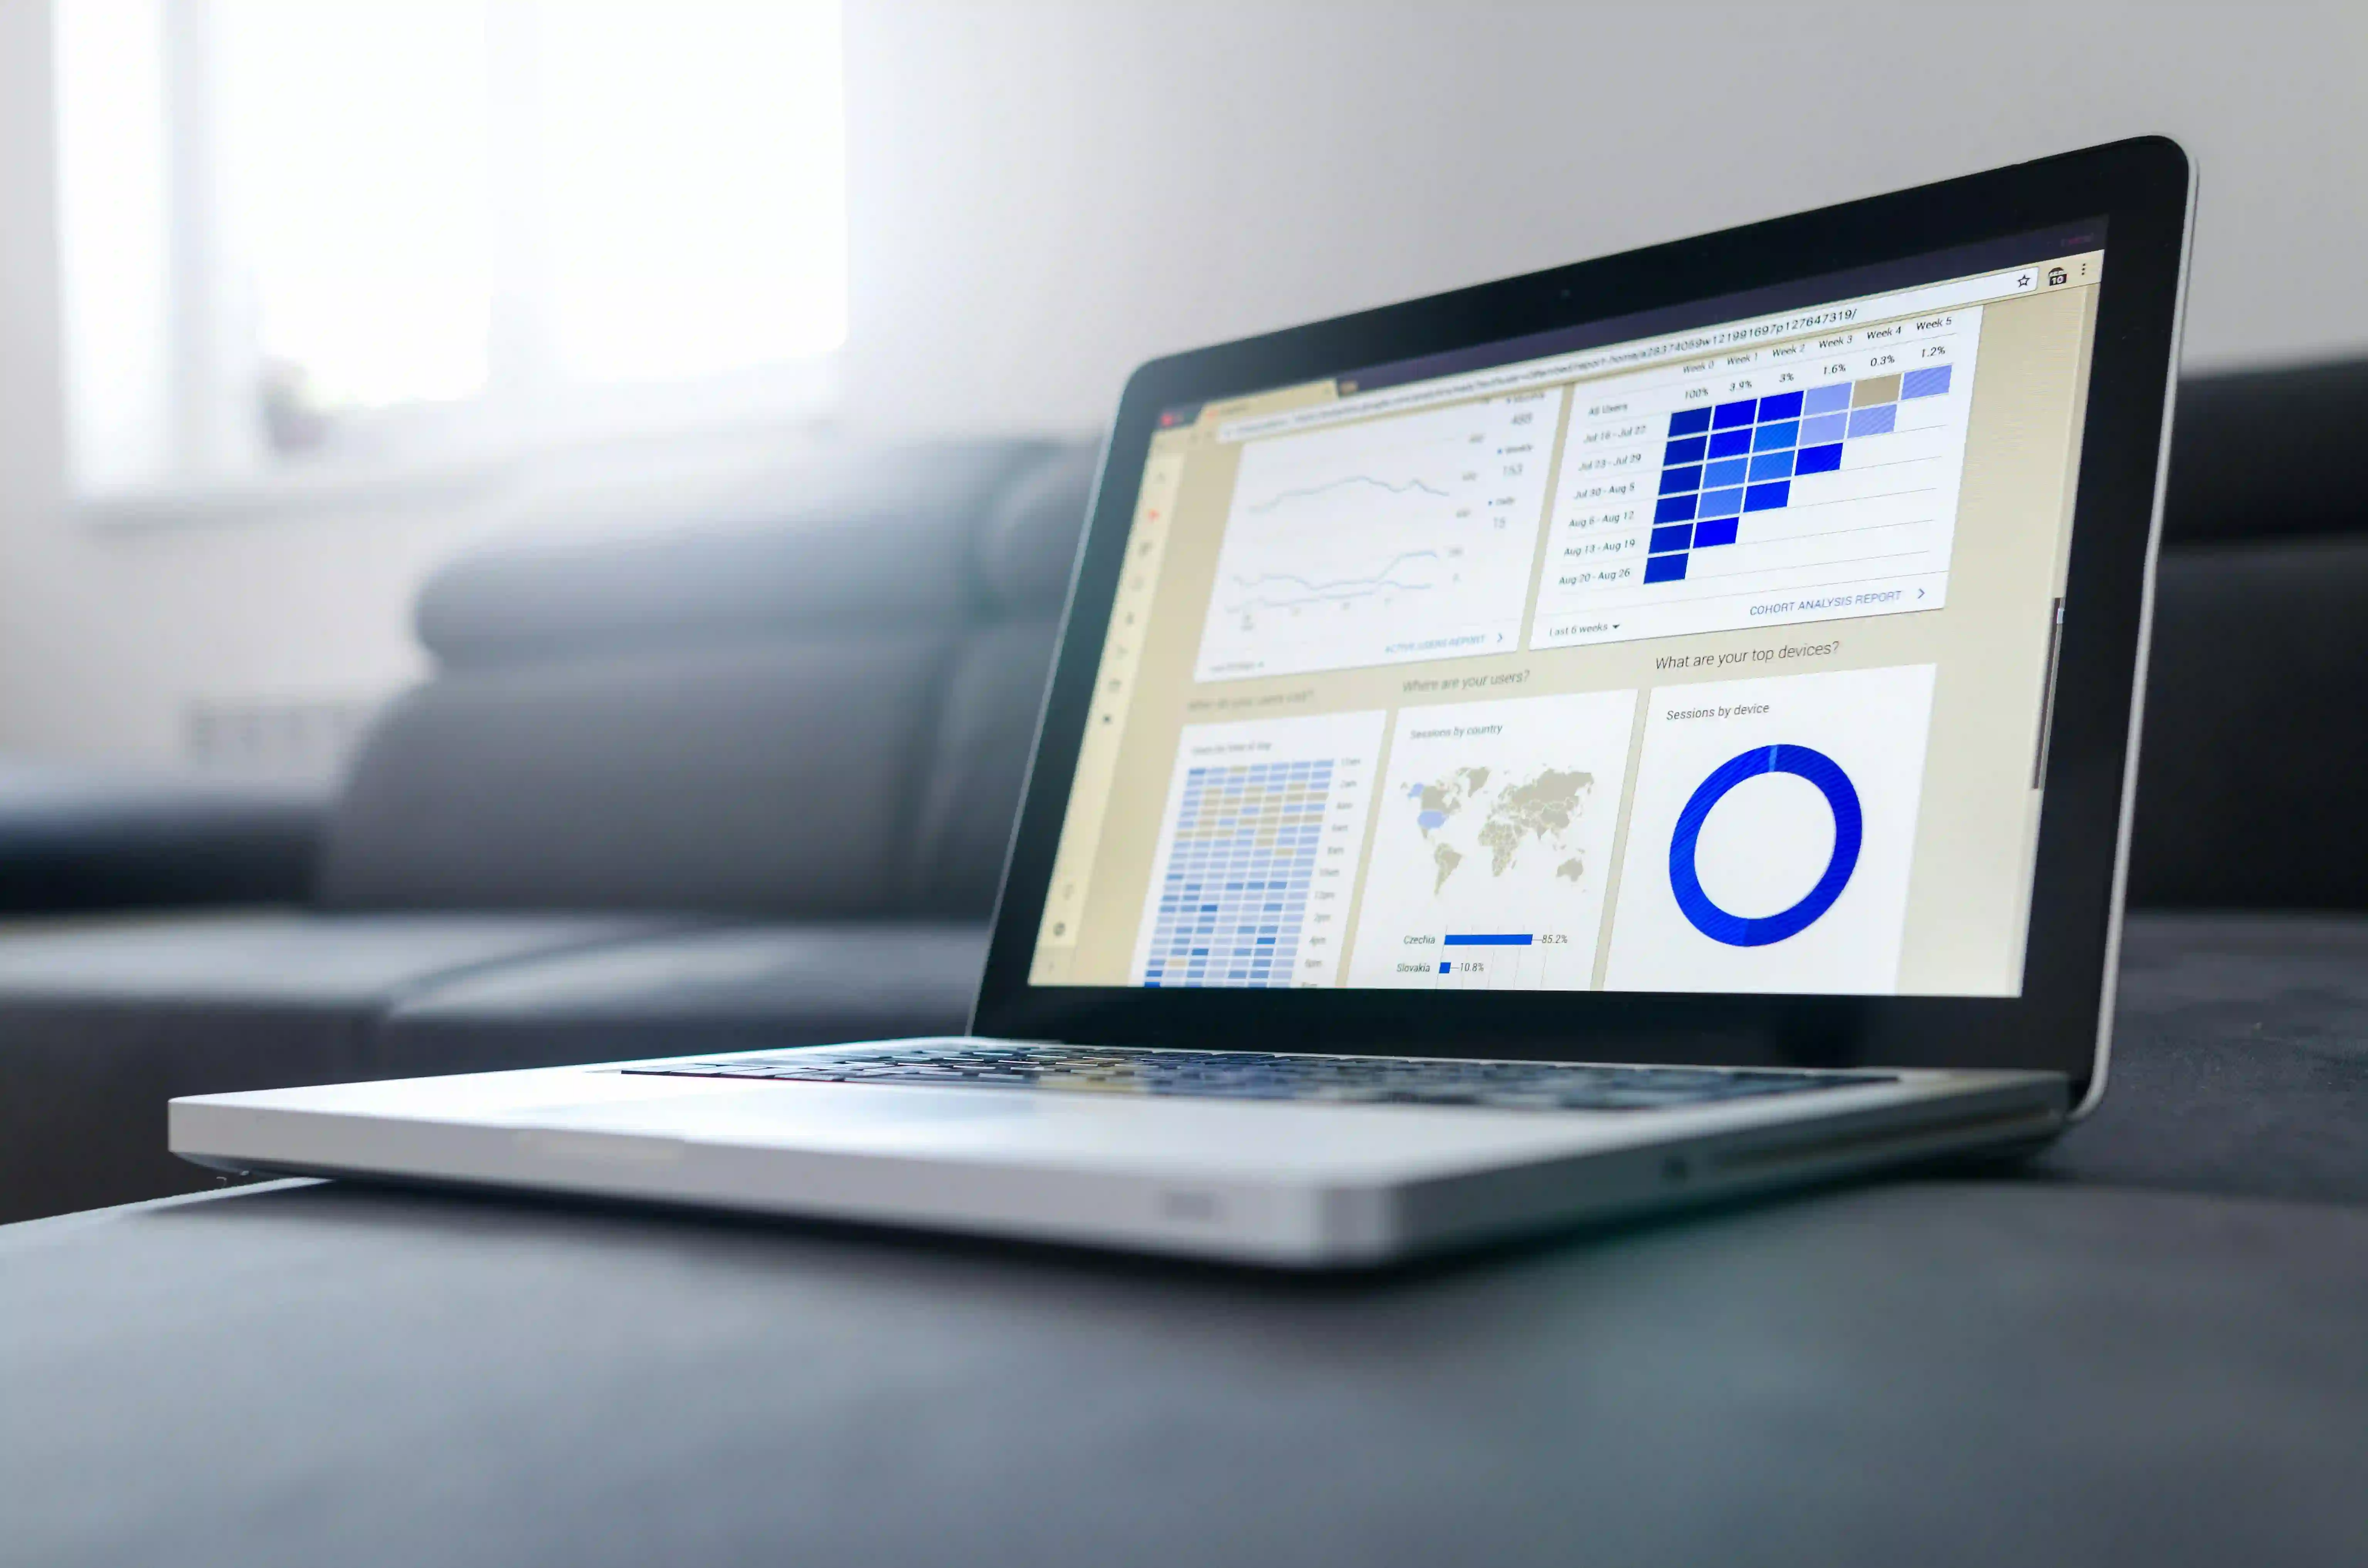
How to Create Custom Dashboards in GoHighLevel
Did you know that businesses using custom dashboards make data-driven decisions 58% faster? If you're tracking ROI in GoHighLevel or running A/B tests in GoHighLevel but not using custom dashboards, you're missing out on powerful insights. The good news? Creating custom dashboards in GoHighLevel is easier than you think.
In this guide, we'll walk through building dashboards that put your most critical metrics front and center, saving you hours of digging through reports.
Why Create Custom Dashboards in GoHighLevel?
Before we dive in, let's understand why custom dashboards are game-changers:
- Save time: See all key metrics at a glance
- Focus on what matters: Remove clutter and distractions
- Team alignment: Share the same data views
- Faster decisions: Spot trends and issues immediately
Step 1: Access the Dashboard Builder
- Log in to your GoHighLevel account
- Navigate to Dashboard > Custom Dashboards
- Click "Create New Dashboard"
- Name your dashboard (e.g., "Marketing Performance")
Step 2: Add Widgets to Your Dashboard
GoHighLevel offers several widget types:
1. Metric Widgets
Track key numbers like leads, conversions, or revenue:
- Click "Add Widget"
- Select "Metric"
- Choose what to measure (form submissions, calls, etc.)
- Set time period (last 7 days, month-to-date, etc.)
2. Chart Widgets
Visualize trends over time:
- Click "Add Widget"
- Select "Chart"
- Choose chart type (line, bar, pie)
- Select data source and metrics
3. List Widgets
View recent activities or records:
- Click "Add Widget"
- Select "List"
- Choose what to display (new leads, tasks, etc.)
- Set number of items to show
Step 3: Organize Your Dashboard Layout
Drag and drop widgets to arrange them logically:
- Group related metrics together
- Place most important widgets at the top
- Resize widgets for better visibility
- Use sections to divide different focus areas
Step 4: Set Up Dashboard Filters
Make your dashboard more flexible:
- Click "Add Filter"
- Choose filter type (date range, campaign, etc.)
- Set default values
- Apply to relevant widgets
Step 5: Share and Schedule Reports
1. Share With Team Members
- Click "Share Dashboard"
- Select users or user groups
- Set permissions (view only or edit)
2. Schedule Email Reports
- Click "Schedule Report"
- Set frequency (daily, weekly, monthly)
- Add recipients
- Choose report format (PDF, CSV, etc.)
Advanced Dashboard Strategies
1. Role-Specific Dashboards
Create different dashboards for:
- Marketing team (campaign performance)
- Sales team (leads and conversions)
- Executives (high-level KPIs)
2. Combine with Google Analytics
Embed Google Analytics data for complete marketing insights.
3. Dashboard Templates
Save high-performing dashboards as templates for new clients or campaigns.
Common Dashboard Mistakes to Avoid
- Too many widgets: Focus on 5-7 key metrics
- No clear purpose: Each dashboard should answer specific questions
- Static data: Set up real-time or daily refreshed views
- Ignoring mobile: Check how it looks on phones and tablets
When to Hire a GoHighLevel Developer
Consider professional help for:
- Custom API integrations
- Advanced data visualizations
- Complex calculated metrics
- Multi-account dashboard setups
Final Thoughts
Custom dashboards in GoHighLevel transform raw data into actionable insights. Start with a simple dashboard tracking your 3-5 most important metrics, then expand as you identify additional needs.
Remember - the best dashboards are living tools that evolve with your business. Review and update yours quarterly to ensure it continues serving your needs.
Author Bio
Automation Expert
Apexa’s workflows are like invisible assistants—handling the grunt work so businesses can focus on growth. She geeks out on triggers, conditions, and making sure no lead falls through the cracks. Clients often ask, "Wait, it can do that automatically?!" (Spoiler: Yes, it can.)